Java Edition shader guide
Minecraft Java Shaders: 7 Options and a Safe Setup Guide (2026)
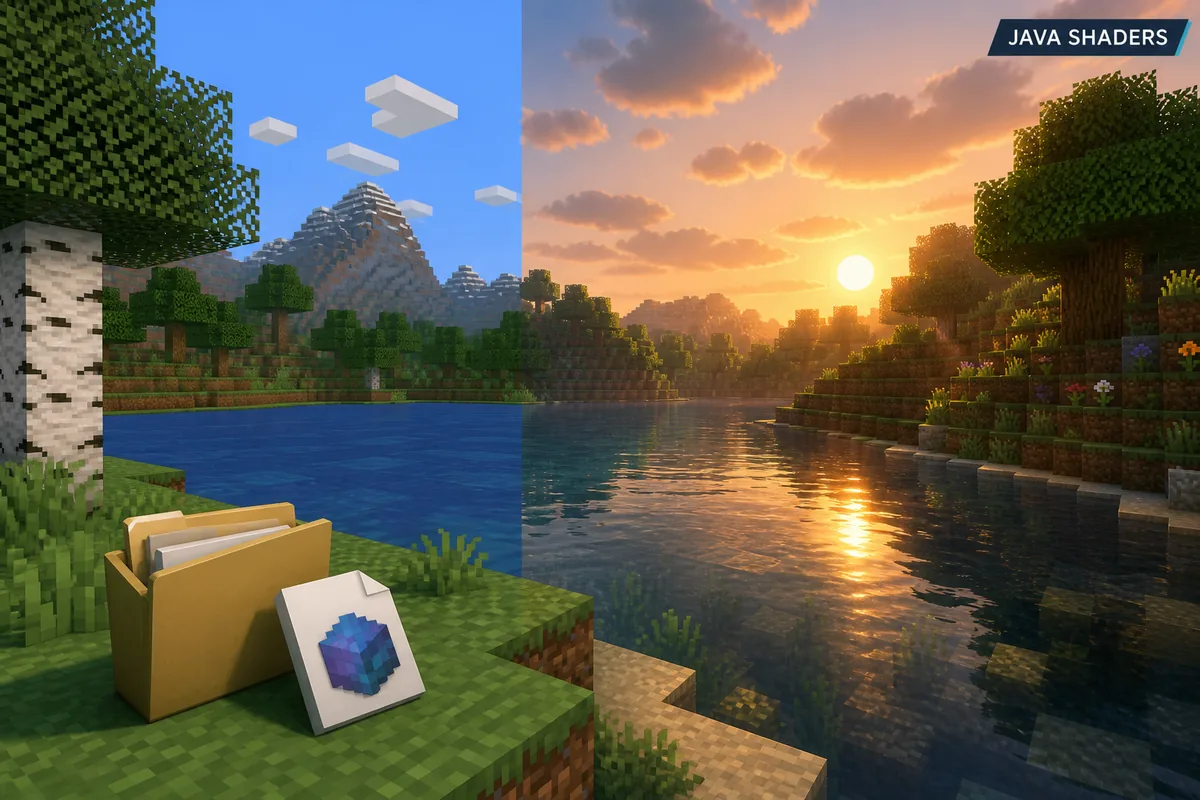
Minecraft Java shaders can make water, shadows, sky and sunlight look dramatically different, but the right choice is the one that matches your Minecraft version, loader, shader pack and hardware. This guide compares practical Java shader paths and shows how to test one change without risking a main world.
The latest official Java release checked on September 23, 2026 is 26.3. That does not mean every shader pack or loader supports 26.3. Read the project file page, keep the Java and Bedrock workflows separate, and treat screenshots as examples rather than compatibility proof.
Quick answer
What Are the Best Minecraft Java Shaders?
The best Minecraft Java shaders are not a single universal download. Start by choosing a maintained shader pack that names the Minecraft versions and loader path it supports, then use Iris or OptiFine only when the pack documentation matches your profile. If you want a current, lightweight route, Iris is often the first path to investigate; OptiFine remains a separate option with its own version and settings requirements.
Before choosing a pack, check the official Minecraft release you actually launch. Mojang's version manifest checked on September 23, 2026 lists Java release 26.3, while many community packs and older tutorials may target another release. A pack made for 1.20.1 or an older loader profile should not be treated as current merely because the download page still appears in search results.
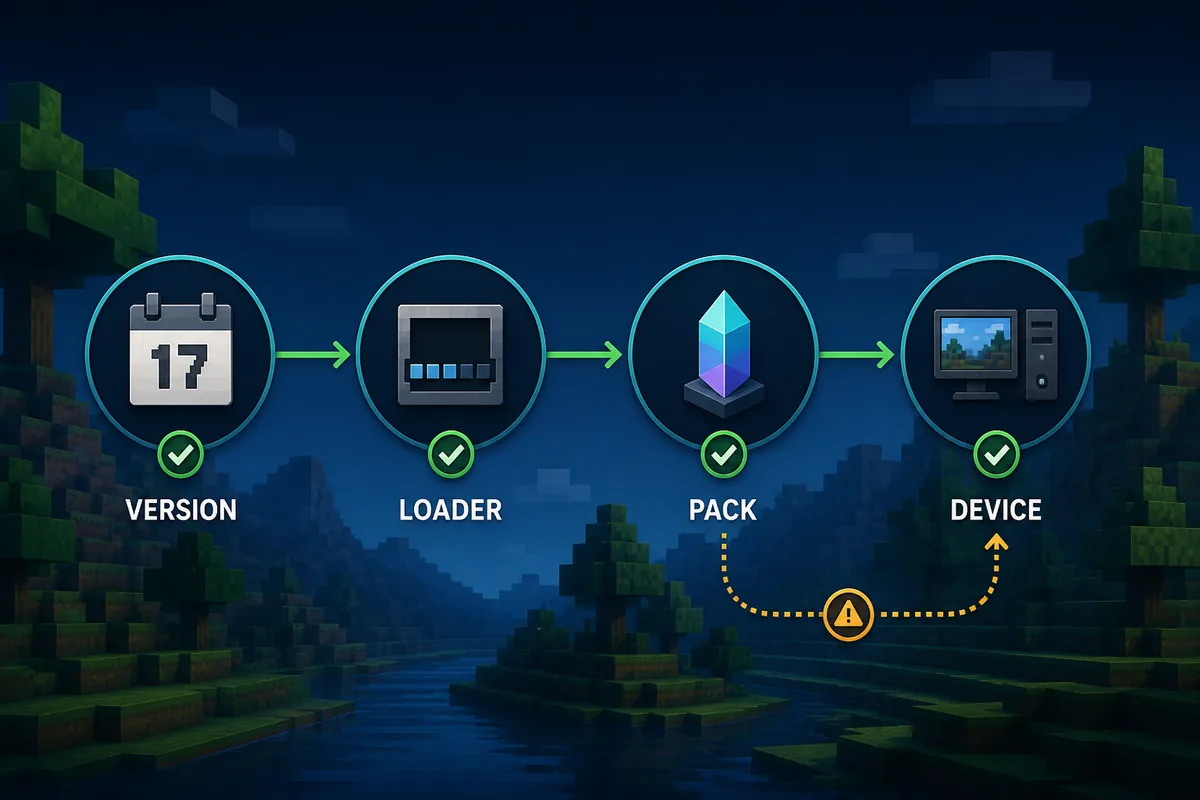
A useful Java shader setup has four matches: Minecraft version, loader, shader pack and device. A fast graphics card cannot repair a loader mismatch, and a successful ZIP download cannot prove that the pack will render. Use a clean profile, install one loader, activate one pack, and test a copied world before combining it with mods or a long-term save.
Best first path: Iris
Investigate Iris when its current download page and the shader pack both name your Minecraft version. Keep the profile separate from your everyday setup while testing.
Alternative path: OptiFine
Use OptiFine only when the pack and the OptiFine release page support the same version. Its settings and installation flow are not identical to Iris.
Best safety rule: one change
Use a copied world and add one shader pack at a time. That makes a black screen, missing option or performance drop easier to diagnose.
Seven practical options
7 Minecraft Java Shader Paths by Use Case
Treat these as decision paths, not promises that every download works on every setup. Rank a shader by version evidence, loader fit, visual goal and performance headroom.
1. Iris with a current shader pack
A strong first route for players who want modern shader support and a separate Java profile. Confirm the Iris page, shader project page and Minecraft version agree before installing.
2. OptiFine with a documented pack
OptiFine can be useful when a shader pack specifically documents its OptiFine settings and supported game version. Do not assume an Iris profile and an OptiFine profile are interchangeable.
3. Lightweight shaders for modest PCs
Choose a pack that offers low or medium presets when your priority is stable frame rate. Lower shadow quality and render distance before abandoning the pack because of one demanding preset.
4. Realistic lighting packs
Use realistic packs for dramatic water, shadows and atmosphere only when your GPU has room for the workload. Read the project notes for required settings instead of trusting a promotional screenshot.
5. Cinematic packs for screenshots
Cinematic packs can be a good fit for building tours or screenshots, but they may be too heavy for survival play. Keep a practical preset ready and compare a moving scene, not only a still image.
6. Vanilla-style enhancement packs
A subtle pack that preserves Minecraft's visual identity can be easier to maintain across updates. This is often the better choice when you want clearer water and shadows without changing every texture.
7. Version-specific legacy packs
Older packs may still be useful for an older profile, but label them by Minecraft version and loader. Never move a legacy ZIP into a current profile just because the filename looks familiar.
Compatibility first
Four Checks Before You Download a Java Shader
A shader loader and a shader pack are different things. Iris or OptiFine provides the Java profile path that can load shader packs; the ZIP file supplies the visual effect. Installing only one side of that pair will not create a working shader menu. Keep the loader name, pack name and Minecraft version in the same note before you download.
Next, compare the exact game version. The official Java manifest is a useful reference for the current release, but it does not certify every community project. A project page may support only a range of versions, a particular loader build, or a legacy release. If a tutorial says the pack is universal but the file page gives no version information, treat the compatibility claim as unverified.
Hardware is the third check. Shader effects can increase GPU load, memory use and heat even when the world itself is unchanged. Start with a default render distance and a low preset. On a laptop, watch fan noise and battery drain; on a desktop, compare stable frame time while moving through water, forests and caves.
Finally, check the source. Prefer the shader author's maintained project page, Iris or OptiFine's official pages, and a release page that exposes the file name and supported versions. Avoid mirrors that rename ZIP files, hide the changelog behind a countdown, or ask you to run an unrelated EXE or APK. A shader pack should not require a mystery installer.
Comparison table
Iris vs OptiFine for Minecraft Java Shaders
Use the table to choose a loader path, then verify the specific shader pack and Minecraft version on the maintained source page.
Safe setup
How to Install and Test Minecraft Java Shaders
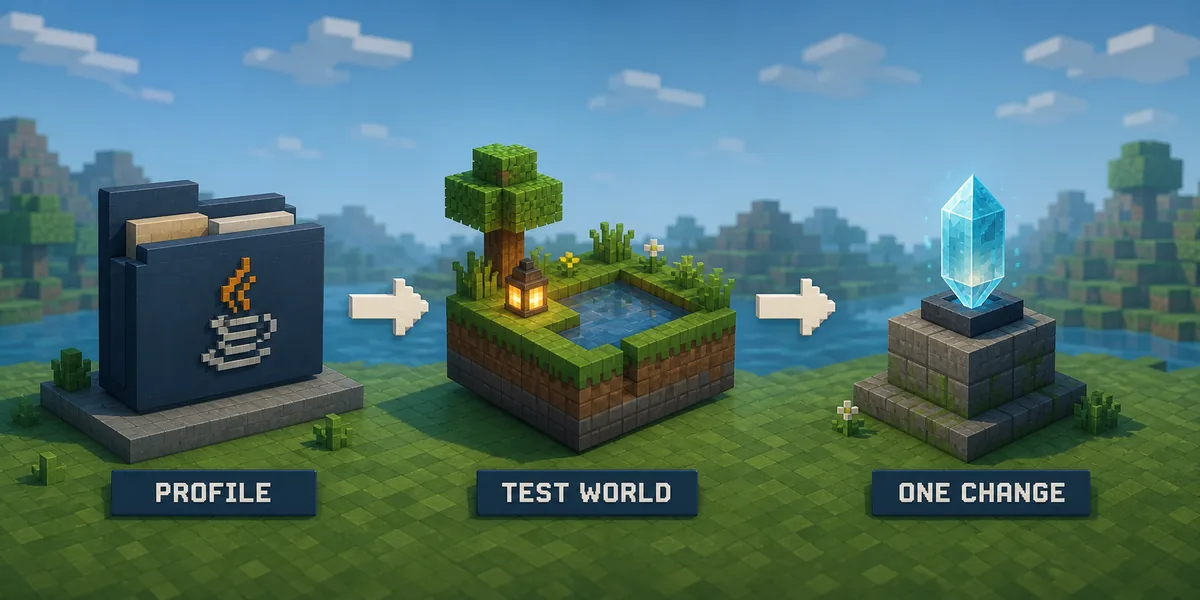
Start by creating or selecting a separate Java profile. Record the Minecraft version and loader before adding a shader. If you already use Fabric, Forge or another modded profile, do not change the working profile first; a clean test profile gives you a useful baseline and a simple rollback path.
Install the loader from its maintained source, then launch the profile once before copying a shader pack. Follow the loader's own instructions rather than combining a video for Iris with an OptiFine installer. The exact folder can differ between the standard launcher and custom instances, so use the active profile's game-directory setting when available.
Download the original shader pack ZIP from the project's documented release page. Keep the extension and file name intact, and place it in the shaderpacks folder used by the active profile. Do not unzip a shader pack unless the project explicitly says to do so. Do not put a shader ZIP in the mods folder, and do not rename it to look like a Java mod.
Activate one pack and one preset. Test the same copied world in daylight, at night, near water and indoors. Check the shader menu, clouds, transparent blocks, shadows and frame stability. If the game turns black or the menu disappears, disable the newest pack and return to the last known working profile before downloading another file.
Once the pack works alone, add other visual or gameplay mods one at a time. Write down the loader, Minecraft version, shader pack, preset and test date. That small inventory makes it possible to identify whether a future update changed the pack, the loader, the graphics driver or a separate mod.
Troubleshooting
6 Minecraft Java Shader Mistakes That Cause Problems
Most shader failures come from a mismatch or an uncontrolled change, not from needing a different mirror.
Mixing Iris and OptiFine instructions
Choose the loader named by the pack documentation. Installing one loader while following another loader's folder or settings steps creates confusing failures.
Using a pack for another version
A shader ZIP can download normally and still be incompatible. Read the release file's supported Minecraft version before activating it.
Putting a shader in the mods folder
Shader packs and Java mods are different file types with different folders. A ZIP does not become a mod because the names look similar.
Testing inside a main world
Use a new or copied world first. A broken visual profile is easier to remove when it is not tied to your long-term save.
Starting with the heaviest preset
Begin with low or medium settings and a default render distance. Measure stable movement before increasing shadows or reflections.
Trusting a generic download button
Prefer a maintained project page with version notes and a visible file name. Skip mirrors that request unrelated installers or hide the source.
Related Verity guides
Keep Java Shader Setup Separate from Other Editions
These pages cover the Java source path, mod profile basics, version notes and the Bedrock boundary assumed by this guide.
Verity Minecraft Java Download
Check the Java source path and the edition-specific file context before changing a profile.
Open Java notesHow to Install Java Mods
Review loader, profile, dependency and mods-folder checks that also matter when troubleshooting a shader setup.
Open Java install guideVerity Minecraft Versions
Separate the current Minecraft release from the version supported by a specific community pack or mod.
Review version notesMinecraft Java vs Bedrock
Confirm the edition before using a Java shader ZIP or a Bedrock resource-pack workflow.
Compare editionsMinecraft Bedrock Shaders
Use the Bedrock-specific guide when you are on a device or edition that does not use Java loaders.
Open Bedrock shader guideFirst-party references
Official Version and Loader Sources
These links verify the official game download or loader entry points. A shader project's own release page remains the authority for pack-specific compatibility.
Minecraft Official Download
Use the official Minecraft download page to confirm the Java launcher path and edition context.
Check MinecraftMojang Java Version Manifest
The official manifest checked on September 23, 2026 listed Java release 26.3; it does not certify third-party shader support.
Open version manifestIris Shaders Download
Iris's maintained download entry point for players checking a Java shader loader path.
Check IrisOptiFine Downloads
The official OptiFine download index for players whose chosen shader pack documents an OptiFine setup.
Check OptiFineFAQ
Minecraft Java Shaders FAQ
How do I add shaders to Minecraft Java?
Choose a matching Minecraft version and loader, install Iris or OptiFine from its maintained source, download a compatible shader pack ZIP, place it in the active profile's shaderpacks folder, then activate it in a copied test world.
How do I install shaders in Minecraft Java without a black screen?
Start with a clean profile, match the pack to the loader and Minecraft version, use a low preset, and test one pack alone. If the screen turns black, disable the newest pack and read the loader or pack notes before changing another file.
Are Iris and OptiFine the same for Minecraft Java shaders?
No. They are separate Java loader paths with different release timing, settings and installation instructions. Follow the path named by the shader project's documentation instead of mixing tutorials.
What is the best shader for Minecraft Java?
There is no universal best shader. Choose a maintained pack that matches your Minecraft version, loader, visual goal and hardware. A lightweight preset is often a better daily choice than the most cinematic preset.
How do I turn on shaders in Minecraft Java?
Launch the profile with the matching loader, open the shader or video settings supplied by that loader, select the pack from the active shaderpacks folder, and test the result in a copied world. The exact menu depends on Iris, OptiFine and the game version.
Can I use a Java shader pack on Minecraft Bedrock?
No. Java shaders use Java loader and shader-pack workflows. Bedrock uses a different rendering and resource-pack system, so renaming a Java ZIP does not convert it. Use the Bedrock-specific guide instead.